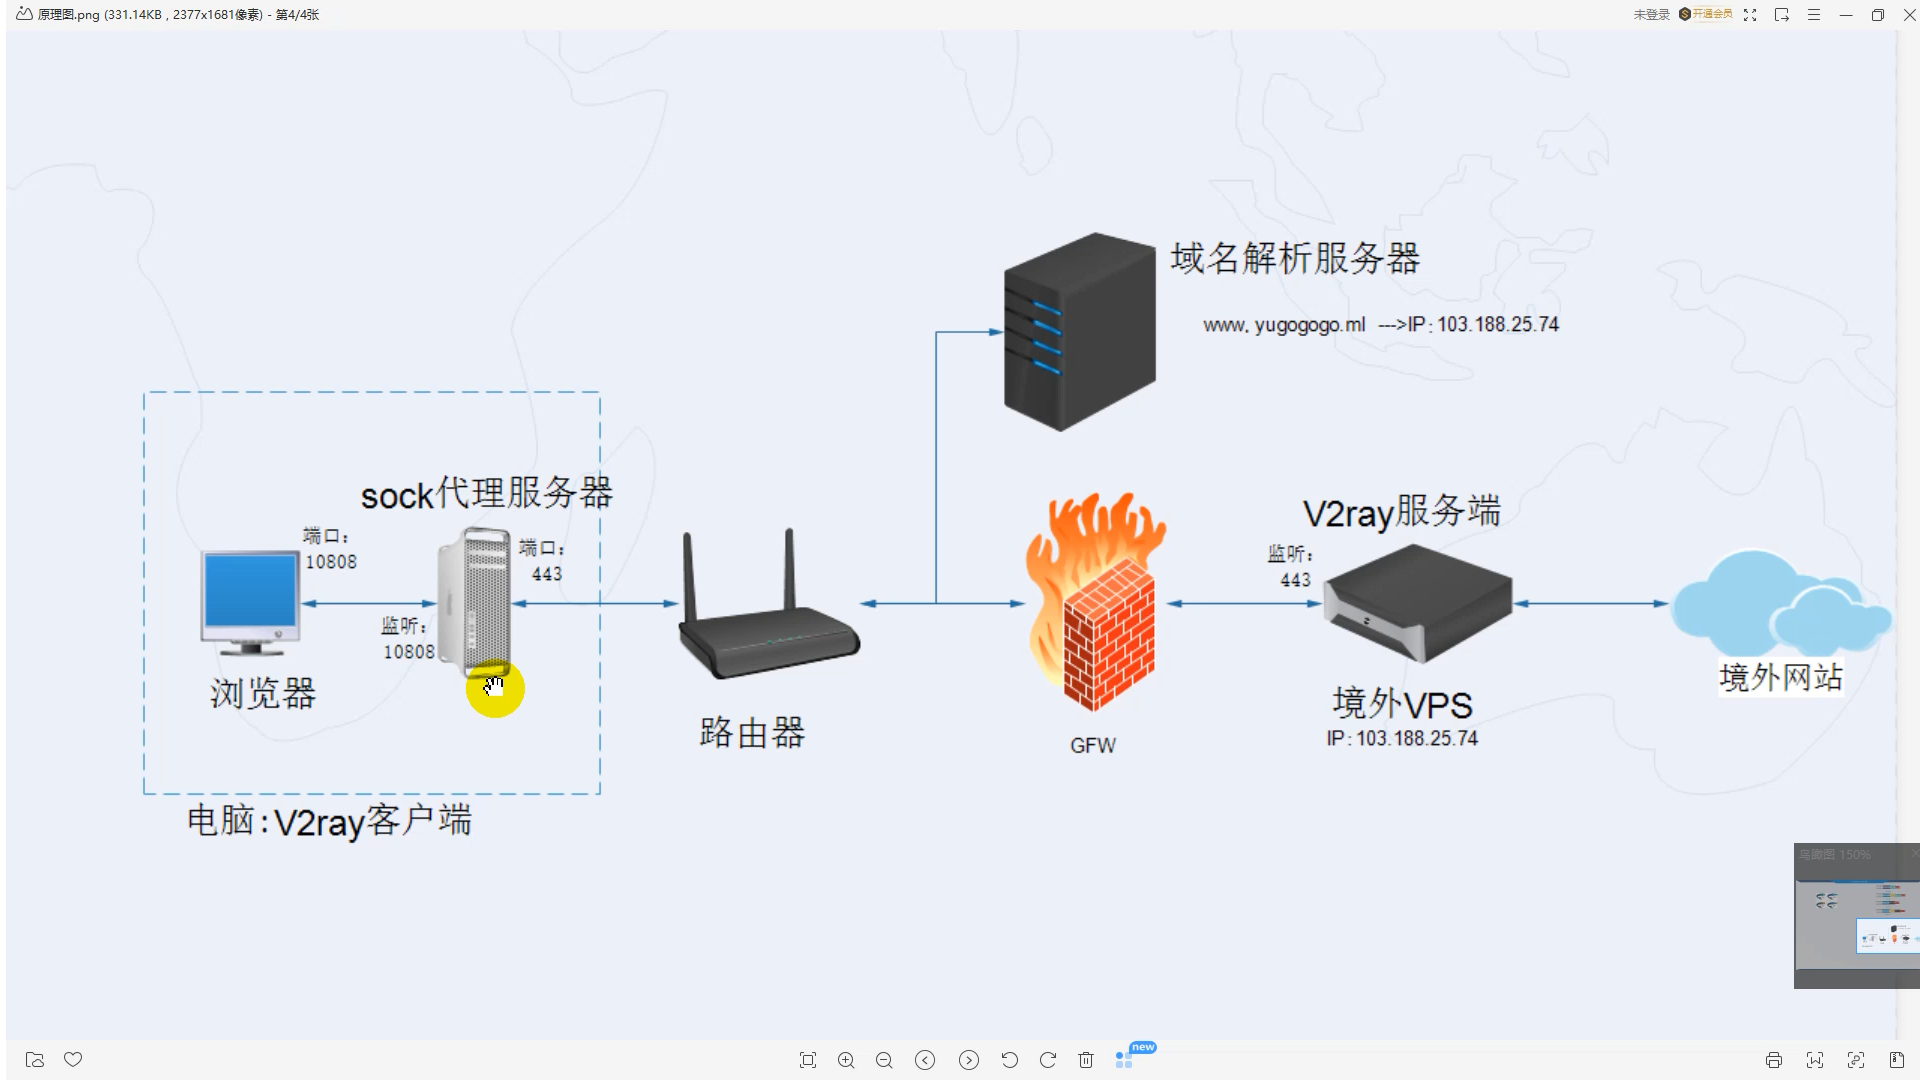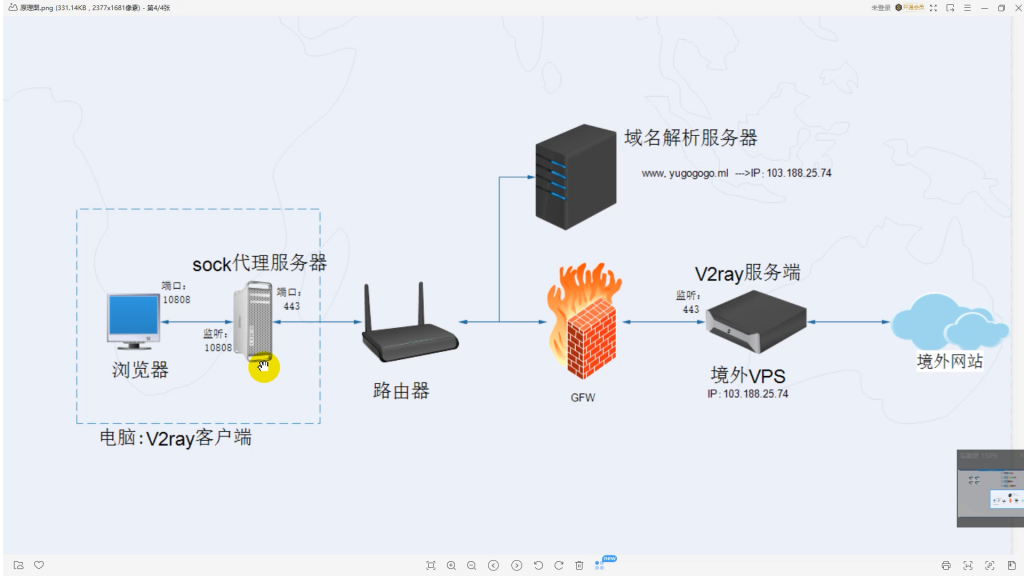
1、安装依赖,
第一步Debian 更新源 (系统、软件),后安装锐速/BBR+FQ协议
apt -y update && apt -y install vim vi curl wget unzip zip ca-certificates && update-ca-certificates && screen -S update
2、下载脚本
mkdir lotserver
cd lotserver
wget -N "https://github.000060000.xyz/tcpx.sh" && chmod +x tcpx.sh && ./tcpx.sh
选项步奏
25.卸载全部加速
21.系统配置优化 (选择 y 重启系统)
3.安装 Lotserver(锐速)内核
99.退出脚本
3、继续输入这个命令来查看装了那些内核:
dpkg -l|grep linux-image
一般情况下有好多:
linux-image-4.9.0-7-amd64
linux-image-4.9.0-8-amd64
linux-image-4.9.0-13-amd64
linux-image-4.9.0-4-amd64
4、然后我们依次把这些内核删掉:
apt purge linux-image-4.9.0-7-amd64
apt purge linux-image-4.9.0-8-amd64
apt purge linux-image-4.9.0-13-amd64
注意:卸载除 4.9.0-4 以外的所有内核不要动4.9.0-4的。卸载的时候请根据你的实际情况来卸载,请勿复制粘贴。
5、更新引导重启系统:
update-grub
reboot
6、重启后再次输入
cd lotserver
./tcpx.sh
选项步奏
3.安装 Lotserver(锐速)内核
20.使用Lotserver(锐速)加速
然后选择安装锐速+使用锐速,即可顺利安装成功!
现在开始安装lnmp
1、安装依赖 apt -y install screen
2、安装lnmp:
wget http://soft.vpser.net/lnmp/lnmp1.7.tar.gz -cO lnmp1.7.tar.gz && tar zxf lnmp1.7.tar.gz && cd lnmp1.7 && ./install.sh lnmp
最后显示
Nginx: OK
MySQL: OK
PHP: OK
PHP-FPM: OK
安装lnmp完成
3、添加域名
lnmp vhost add
按申请的域名填写,并选择 2 申请SSL
Add SSL Certificate (y/n) y
1: Use your own SSL Certificate and Key
2: Use Let's Encrypt to create SSL Certificate and Key
Enter 1 or 2: 2
4、修改域名配置
vi /usr/local/nginx/conf/vhost/域名
在server段加入以下内容:
location /ray {
proxy_redirect off;
proxy_pass http://127.0.0.1:10000;
proxy_http_version 1.1;
proxy_set_header Upgrade $http_upgrade;
proxy_set_header Connection "upgrade";
proxy_set_header Host $http_host;
}
路径/ray需要和v2ray的路径一样
端口10000需要和v2ray的端口一样

