精彩评论
- 张麻子是杂种(2个月前 (12-09))
从有人以来就没有比张麻子更邪恶 张口闭口为人民,害死几千万人还为人民,为自己的皇位还差不多,...
评:深度解析《让子弹飞》 al2359(3年前 (2023-02-06))
求科学离线插件,谢谢!34401355@qq.com
评:改版梅林固件安装SS【shadowsocks】科学上网插件教程al2359(3年前 (2023-02-06))
求科学离线插件,谢谢!!!
评:改版梅林固件安装SS【shadowsocks】科学上网插件教程
GitHub地址: https://github.com/akazwz/smail
GitHub地址:https://github.com/akazwz/smail
夜梦这里使用的是雨云的服务器,九折 + 十元优惠券链接:https://www.rainyun.com/
更多服务器推荐请看:服务器推荐以及性能测评
夜梦以Ubuntu22.04系统为例进行演示。
安装nvm以安装指定的node版本
curl https://raw.githubusercontent.com/creationix/nvm/master/install.sh | bash
source ~/.profile
nvm ls-remote
这里我们安装node 18.16.0 版本
nvm install 18.16.0
nvm use 18.16.0
安装wrangler
npm install -g wrangler
克隆仓库到本地
cd ~
git clone https://github.com/dreamhunter2333/cloudflare_temp_email.git
cd cloudflare_temp_email
创建D1数据库
wrangler d1 create yemeng_email # 随便取个名字来替换yemeng_email
之后会弹出验证你的cf账户链接
Opening a link in your default browser: https://dash.cloudflare.com/oauth2/auth?response_type=code&client_id=yemeng666&redirect_uri=yemeng999
我们点击链接,同意授权
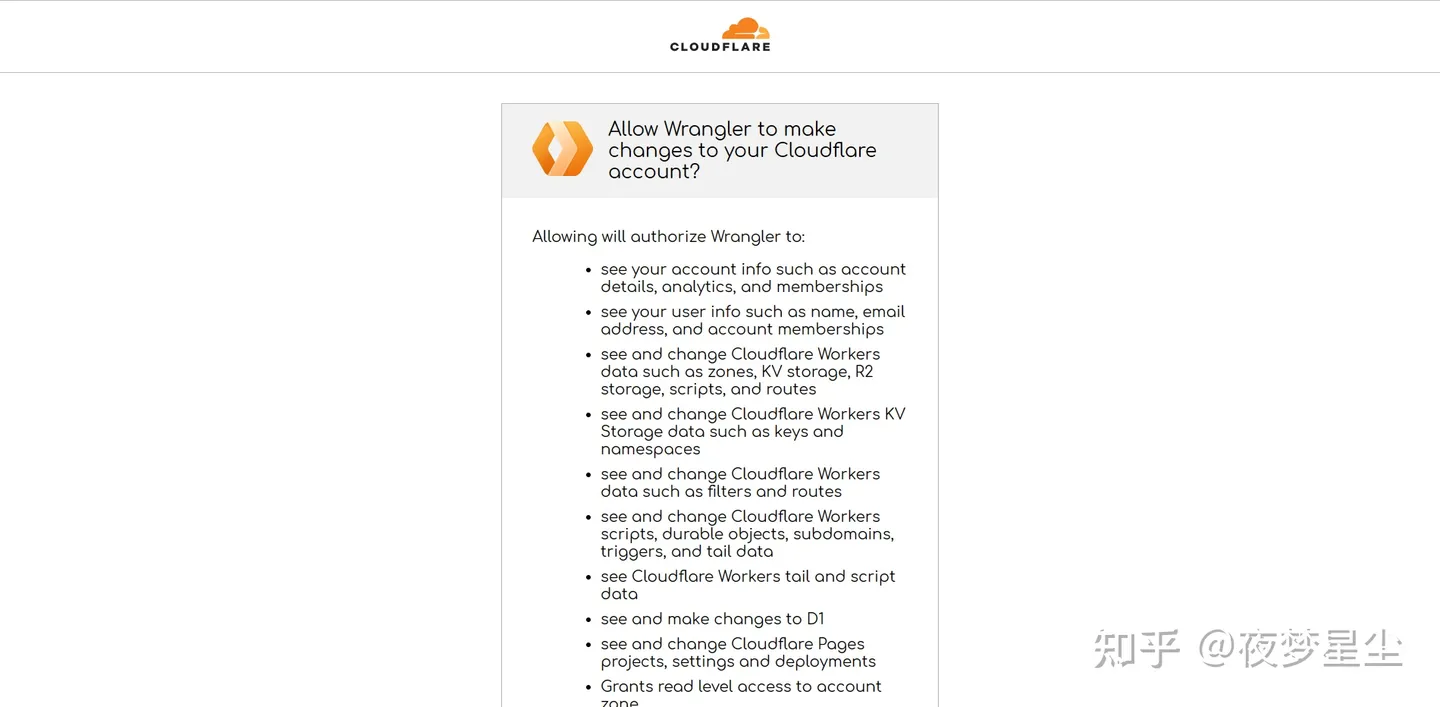
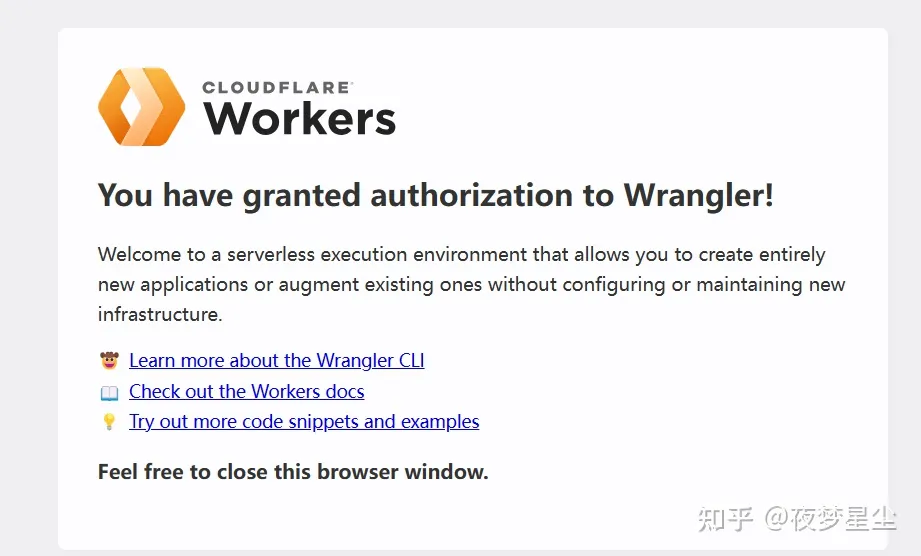
授权成功后会自动跳转到localhost地址,无需担心,我们只要把localhost换为服务器IP即可看到提示
创建后会返回数据库信息:
--------------------
  D1 is currently in open alpha and is not recommended for production data and traffic
  Please report any bugs to https://github.com/cloudflare/workers-sdk/issues/new/choose
  To request features, visit https://community.cloudflare.com/c/developers/d1
  To give feedback, visit https://discord.gg/cloudflaredev
--------------------

✅ Successfully created DB 'yemeng_email' in region WNAM
Created your database using D1's new storage backend. The new storage backend is not yet recommended for production
workloads, but backs up your data via point-in-time restore.

[[d1_databases]]
binding = "DB" # i.e. available in your Worker on env.DB
database_name = "yemeng_email"
database_id = "yemeng666999"
然后我们创建数据表
wrangler d1 execute yemeng_email --file=db/schema.sql # 按照上面的名字来替换yemeng_email
成功后会返回
--------------------
  D1 is currently in open alpha and is not recommended for production data and traffic
  Please report any bugs to https://github.com/cloudflare/workers-sdk/issues/new/choose
  To request features, visit https://community.cloudflare.com/c/developers/d1
  To give feedback, visit https://discord.gg/cloudflaredev
--------------------

  Mapping SQL input into an array of statements
  Parsing 4 statements
  Executing on yemeng_email (66666666):
  Executed 4 commands in 0.6972070000047097ms
接下来搭建Cloudflare worker,我们先保存好上一步获得的数据库信息。然后完善以下内容:
[vars]
PREFIX = "tmp"
DOMAIN = "yourCfDomain.com"
JWT_SECRET = "anything"

[[d1_databases]]
binding = "DB"
database_name = "yemeng_email"
database_id = "yemeng666999"
其中 vars 里面的domain可以是你在cf托管的任何一个域名。jmt_secret可以随便写。D1 database就是之前的数据库信息。保存好这些数据,之后我们会用到。
然后我们执行
cd ~ && cd cloudflare_temp_email && cd worker
npm install
# copy wrangler.toml.template to wrangler.toml
# and add your d1 config and these config
# PREFIX = "tmp" - the email create will be like tmp<xxxxx>@DOMAIN
# DOMAIN = "xxx.xxx" - you domain name
# JWT_SECRET = "xxx"
# BLACK_LIST = ""
cp wrangler.toml.template wrangler.toml
修改配置文件
vim wrangler.toml
这里需要设置两项东西,具体内容就是上面我们完善的内容:
[vars]
PREFIX = "tmp"
DOMAIN = "yourCfDomain.com"
JWT_SECRET = "anything"

[[d1_databases]]
binding = "DB"
database_name = "yemeng_email"
database_id = "yemeng666999"
修完完成后,我们保存退出。
启动部署
# deploy
wrangler deploy

这个可以自行选择,Y/n均可。
然后我们前往cloudflare的Workers & Pages查看具体信息。
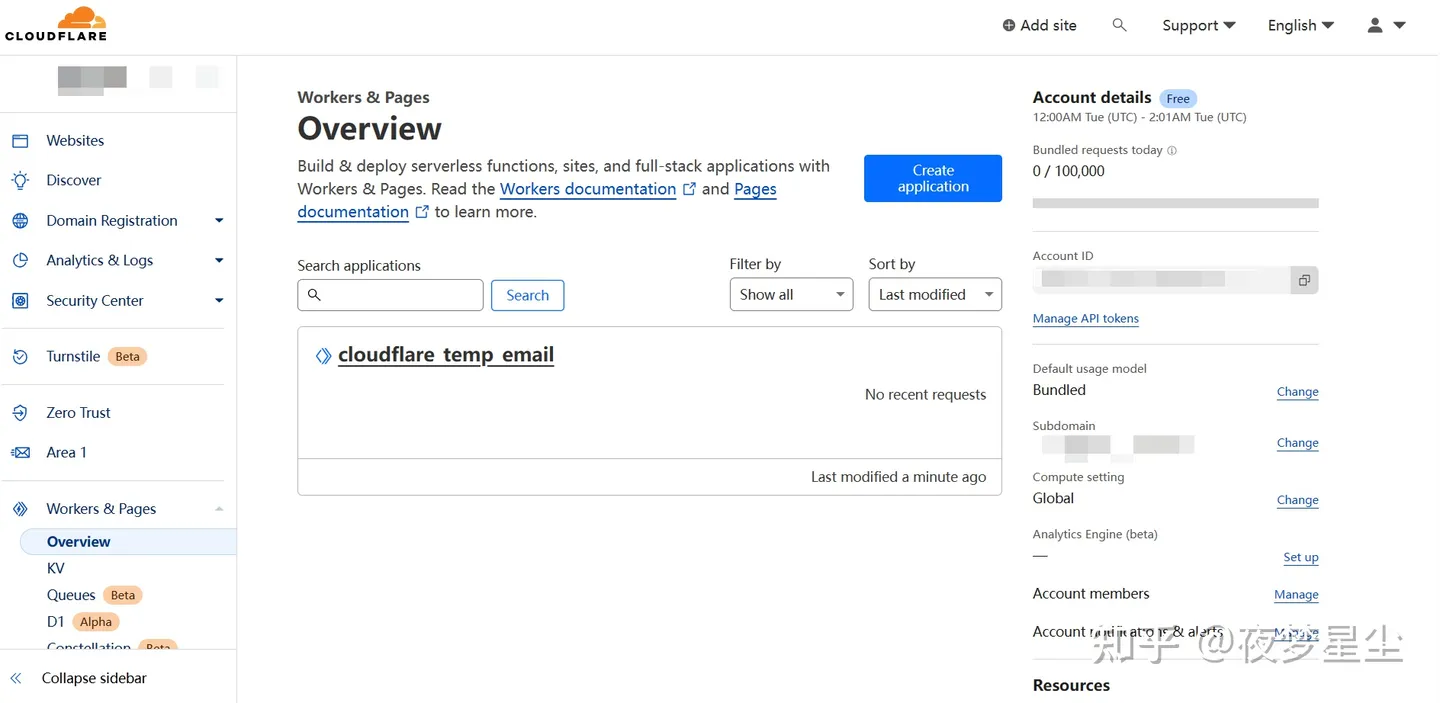
D1数据库
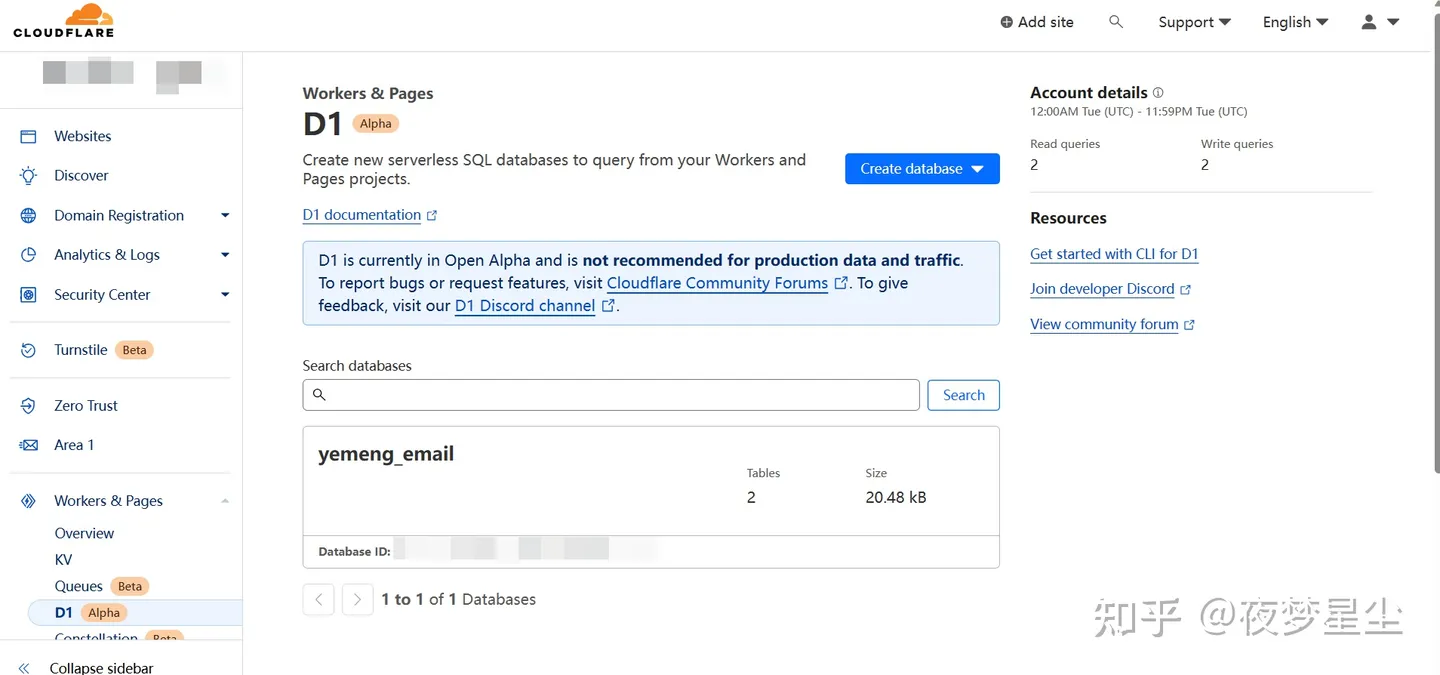
在开始之前,我们先在CF里面完成域名设置。
这里需要设置两项东西:1.自定义域名;2.email triggers
添加自定义域名,右边有一个add custom domain,点击后设置你的邮箱域名。
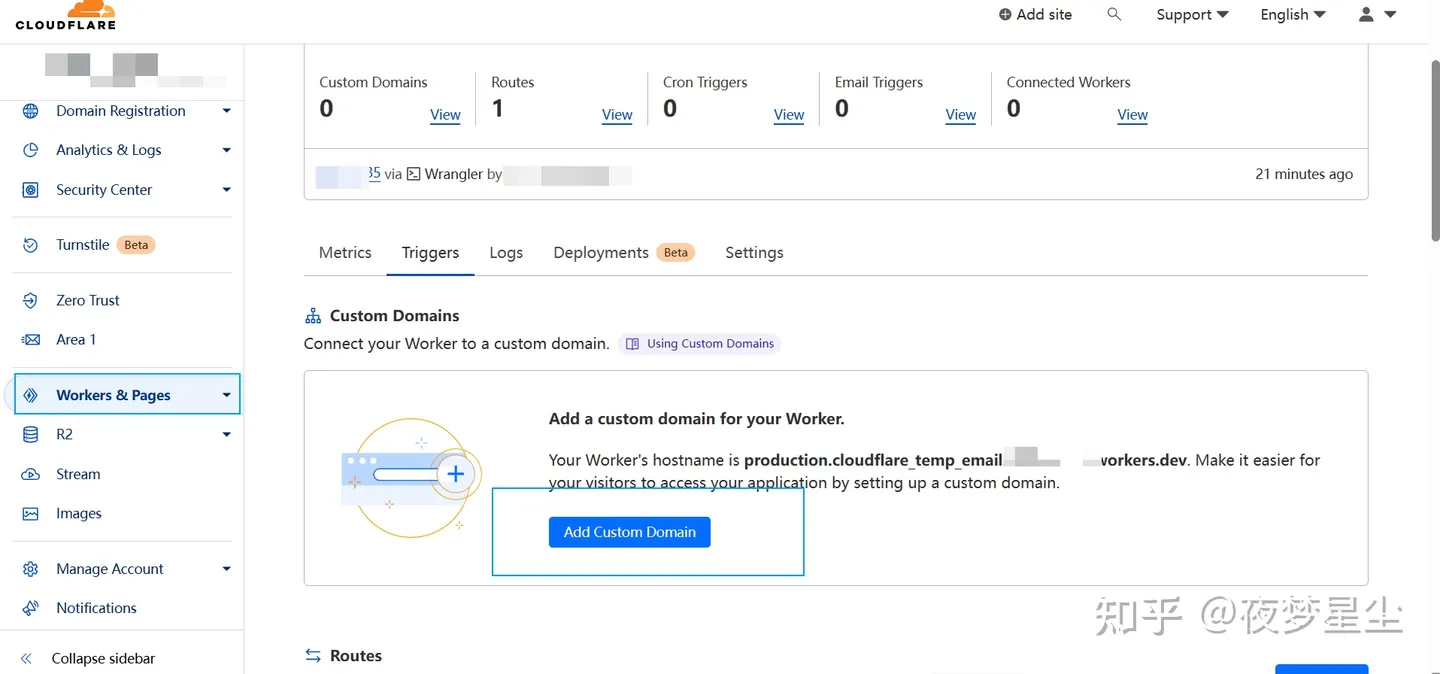
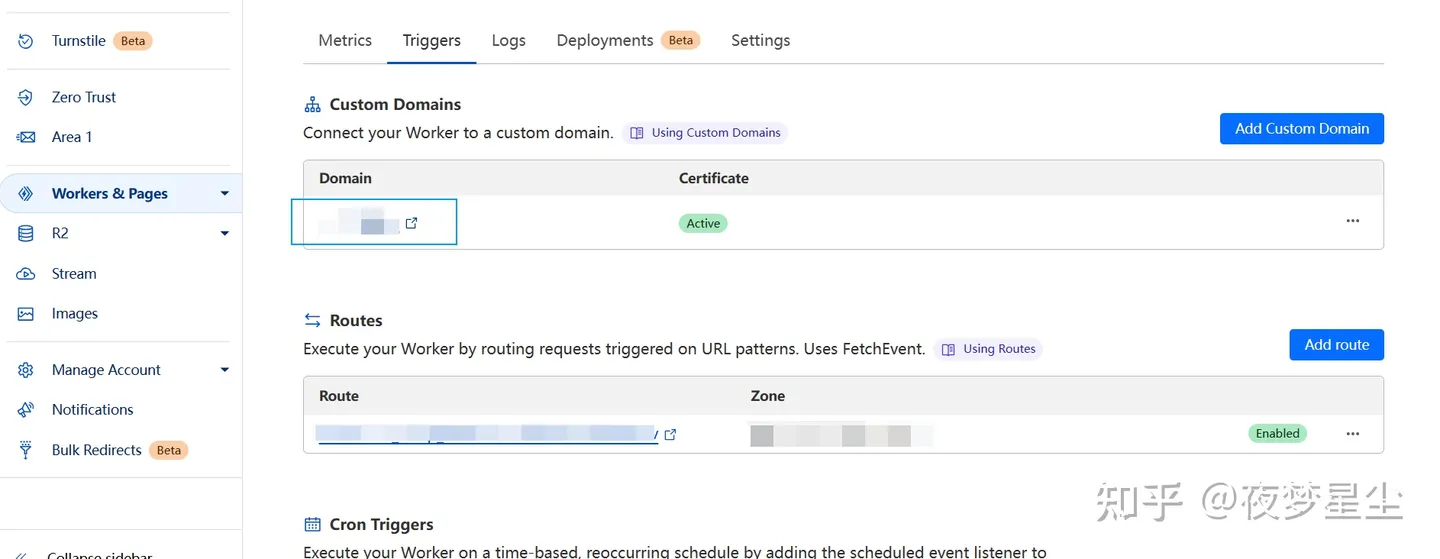
我们这里需要记录一下URL,后面会用到。
然后我们设置email triggers,回到之前设置的托管在Cloudflare的域名。点击Get started
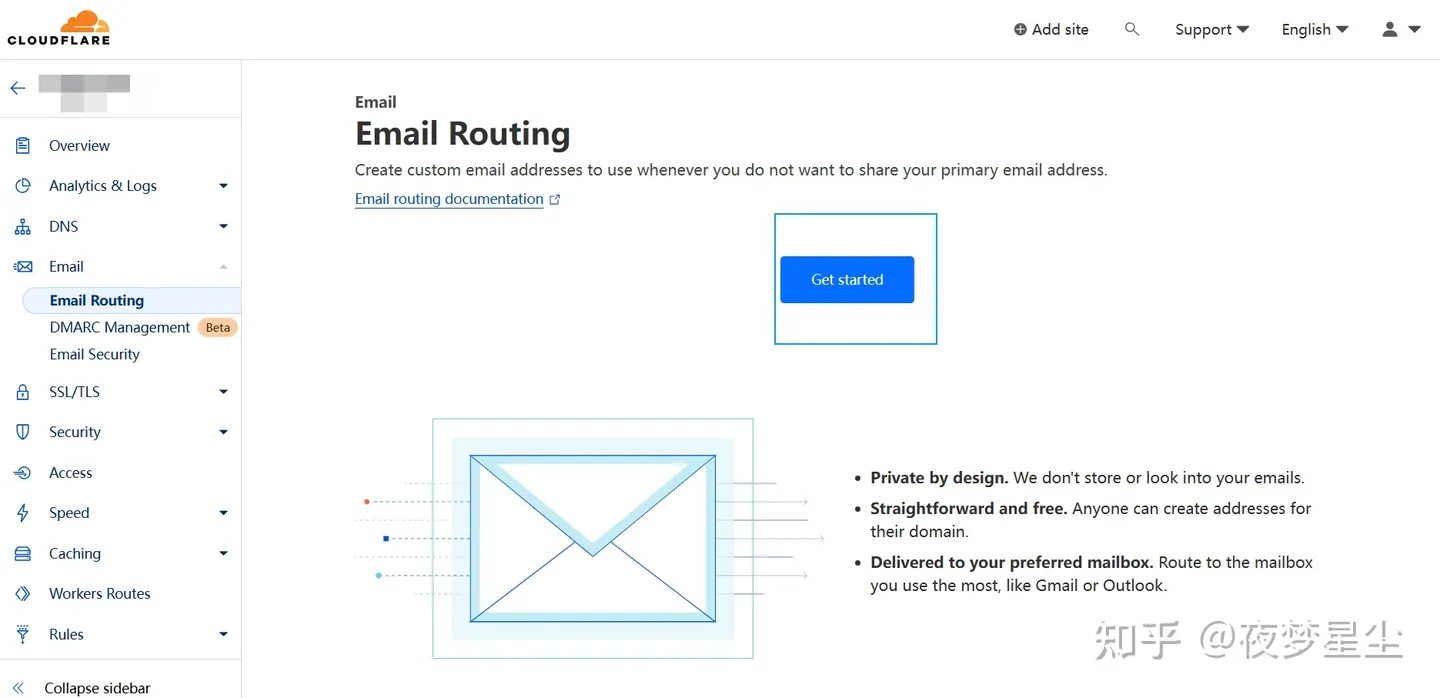
我们跳过设置。

添加DNS记录。

在email routing的routes中开启catch-all address,Action选择刚刚设置好的worker域名,然后保存。

回到SSH终端,我们先安装pnpm。
npm install pnpm -g
安装依赖。
cd ~ && cd cloudflare_temp_email && cd frontend
pnpm install
依赖安装完毕以后,我们复制环境变量配置文件。
# add .env.local and modify VITE_API_BASE to your api url
cp .env.example .env.local
这里我们要修改的是VITE_API_BASE,就是上一步设置的域名url。比如我这边的设置如下:
vim .env.local
You should add .env.local and modify VITE_API_BASE to your worker's url .
For example: VITE_API_BASE=https://xxx.xxx.workers.dev - don't put / in the end
VITE_API_BASE=https://yemengEmail.com
VITE_CF_WEB_ANALY_TOKEN=
保存退出后,我们开始部署
pnpm build --emptyOutDir    # 在frontend目录
cd ..
wrangler pages deploy dist --branch production
这里会提示输入项目名称,需要是小写字母
✔ Enter the name of your new project: … yemengtempemail
✔ Enter the production branch name: … main
然后等待部署完成即可。
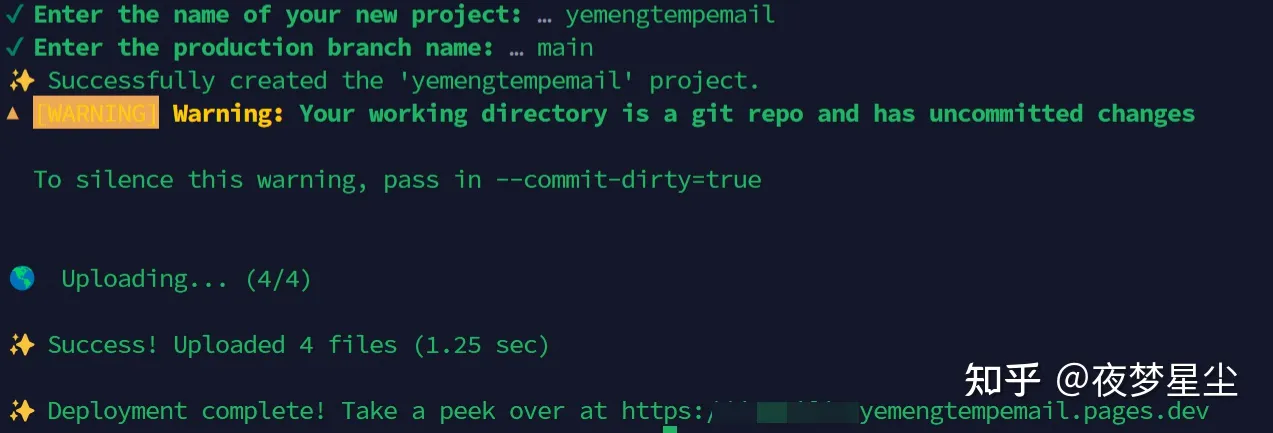
我们访问上面出现的网址,即可进入使用页面。推荐使用chrome浏览器。

点击Get New Email即可获得随机邮箱。

然后我们就可以收到邮件了!

「梦想一旦被付诸行动,就会变得神圣,如果觉得我的文章对您有用,请帮助本站成长」
从有人以来就没有比张麻子更邪恶 张口闭口为人民,害死几千万人还为人民,为自己的皇位还差不多,...
评:深度解析《让子弹飞》求科学离线插件,谢谢!34401355@qq.com
评:改版梅林固件安装SS【shadowsocks】科学上网插件教程求科学离线插件,谢谢!!!
评:改版梅林固件安装SS【shadowsocks】科学上网插件教程